Wow...how easy are these!?!?! Thanks Karlee for your video tutorial on how to make them. You can find her blog on my fave blogs to the right of this post. She seems really down to earth and she seems to like things that look amazing but aren't really that difficult. I like that about her. That's why I follow her blog. I didn't do a video but I do have multiple pictures. If you have difficulty following them please let me know and/or look at her video from about a month ago.
I have made several million of them for my daughter and my co-workers. I've even made some for gifts. They are really cute, but please take caution because it does use fire. Which is hot. Hot will burn you.
 |
| Karlee used a lighter, but I like to use a tealight. |
 |
| You will also need hair barrettes or pins; or whatever you want to use. Magnets maybe? |
 |
| These are the gems I like best they are at HL (same as the barrettes) I don't recall how much they are but they come in a bag of about 25 for a couple dollars. They are sew on...but I'm a rebel, man. I don't sew them.....I glue them! Keep reading... |
 |
| You also need to take satin and cut in various sized circles. Please don't worry if they are perfect...I just cut them freehand and deal with the reprocutions. |
 |
| Here is a final barrette.... PRETTY! |
 |
| You need to be very careful during this step. The fire is hot and it will burn you. I know I said that before, but it's worth repeating. Hot! Hot will burn you! Don't worry about how I know, but it is best to do this with your nails clipped. I may or may not have ended up with a blackened thumb nail. There's no proof. :) BE CAREFUL! I also have to say that this is amazing. It's cool to watch the satin curl when it's against the flame. Just turn the satin when you get the look you want. You will know immediately when to turn it. Try to do it before it actually starts to flame itself, but even if it does just blow it out. The satin will be very hot - don't try to touch it to stop the flame - again...no proof! :) |
 |
| After you've done the first step this is what it looks like...not much but keep going! |
 |
| Oh, here is the glue that I use. I'm sure there are others, but this is what I had and I know it works. I'm sure others do to, I just haven't tried them. |
 |
| First I glue the gem on and then I burn the edges of the satin as I glue each layer. I think that is the easiest way and gives the coolest looking flower. We all wanna be cool. Right?!? |
 |
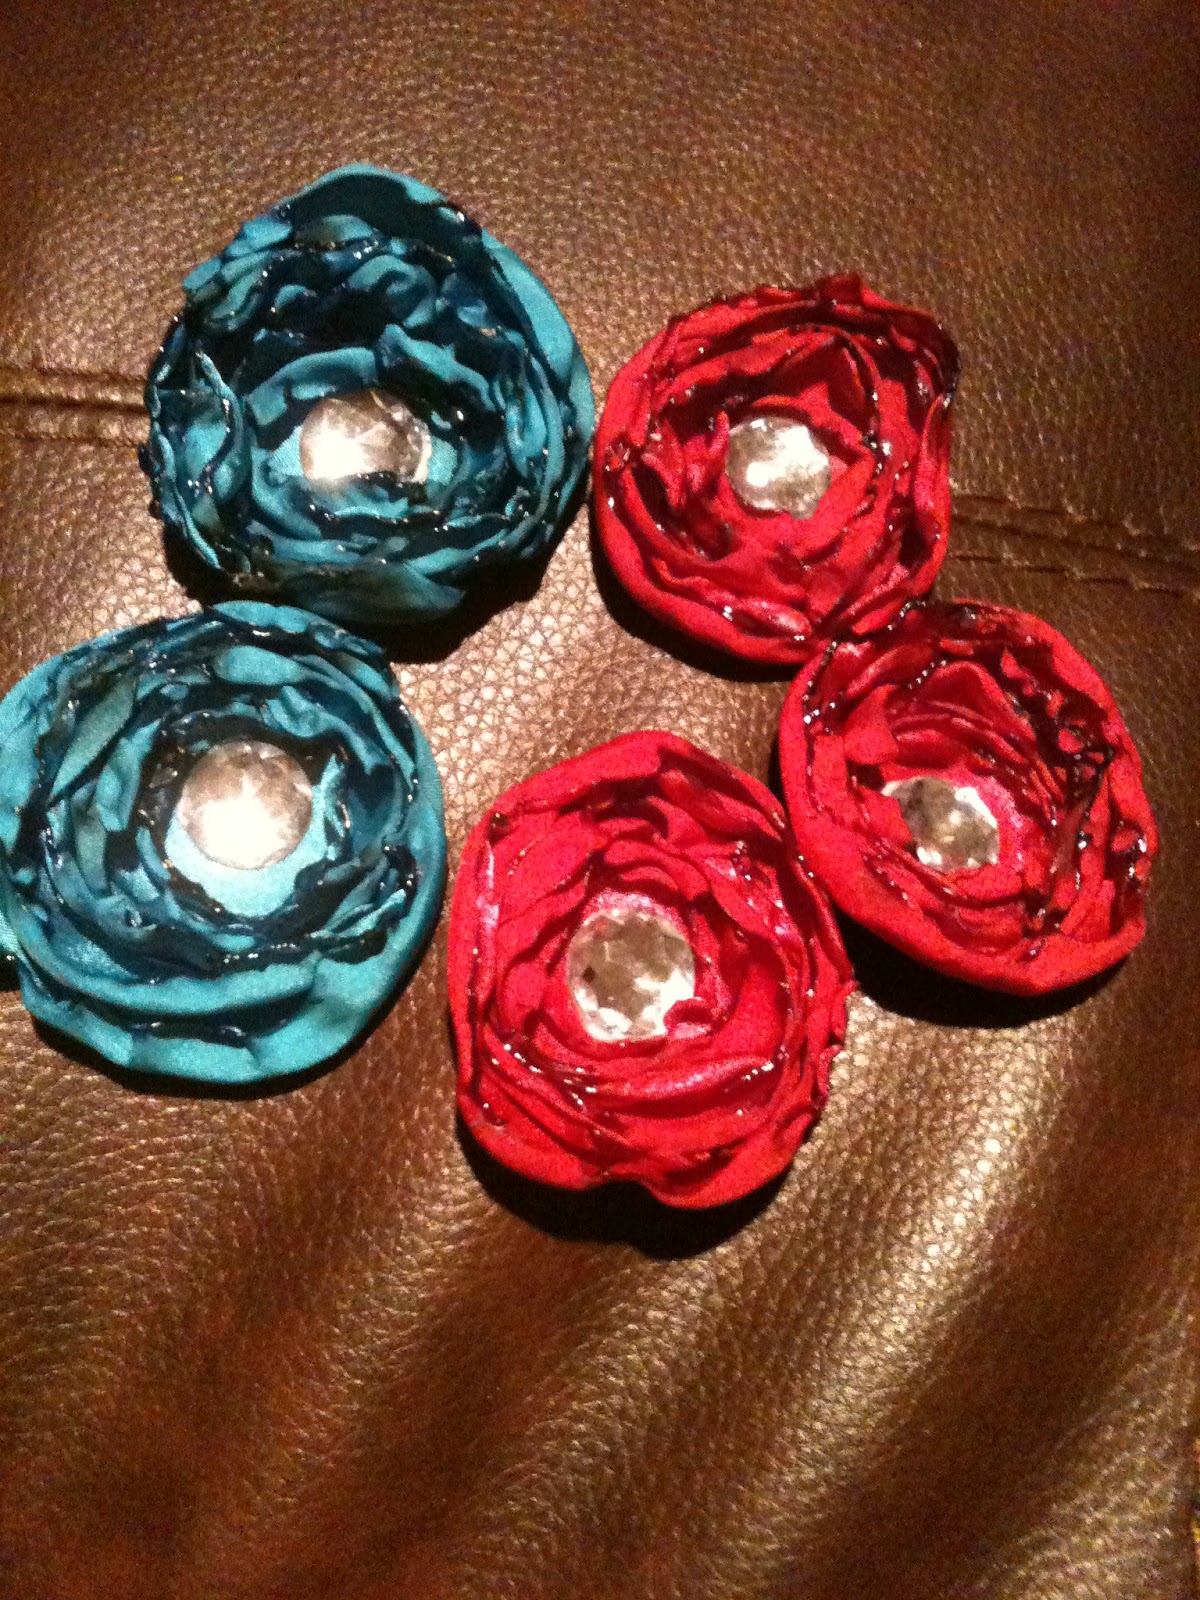
| I like to do 6 or 7 layers total. I did some green flowers and some red ones. LOVE them! |
 |
Finally I glue on the barrette. Super simple! Take care not to glue the two sides of the barrette together. I spring it open every 20 mins or so while it's drying to make sure it doesn't glue itself closed. However, you can always stick a butter knife between the prongs to unpry it if you do not heed my warning. Again, no proof.
Okay, that's it!!! Easy Peasy and the results are BEAUTIFUL!!!! My daughter loves them and I love her. That is why I have made millions of them.
TTFN,
Tammy |


what a great project very pretty:)
ReplyDelete